Recently my OnePlus 3 started to act strange and have a hard time focusing and taking sharp photos. When trying to use the rear camera I would see it focus in and out repeatedly and take 10 seconds or more to take a good picture. This too long to capture any moment and super frustrating so it had to be fixed. I’m a pretty adventurous dude, I thought I would make a post for you all to see how difficult it is to fix a blurry OnePlus 3 rear camera. The parts are cheap, there are online tutorials, and I get to make my own video for my blog? What could go wrong?
Tools I recommend for fixing a blurry OnePlus 3 rear camera:
Steps for fixing a blurry OnePlus 3 rear camera:
- Buy a replacement camera. I recommend the one with the additional tools, just so you know you have everything you need.
- Remove the sim card tray. You’ll need the pokey smiley face that came with your phone.
- Remove the two torx T2 screws from the bottom of the phone. These are the star shaped screws. These screws are tiny so store them in a bowl, magnetic bowl preferably.
- Use the spudgers to gently pry the screen away from the metal housing starting near the bottom of the phone.
- Don’t use the USB C port to try help pull it out. You could easily break the port.
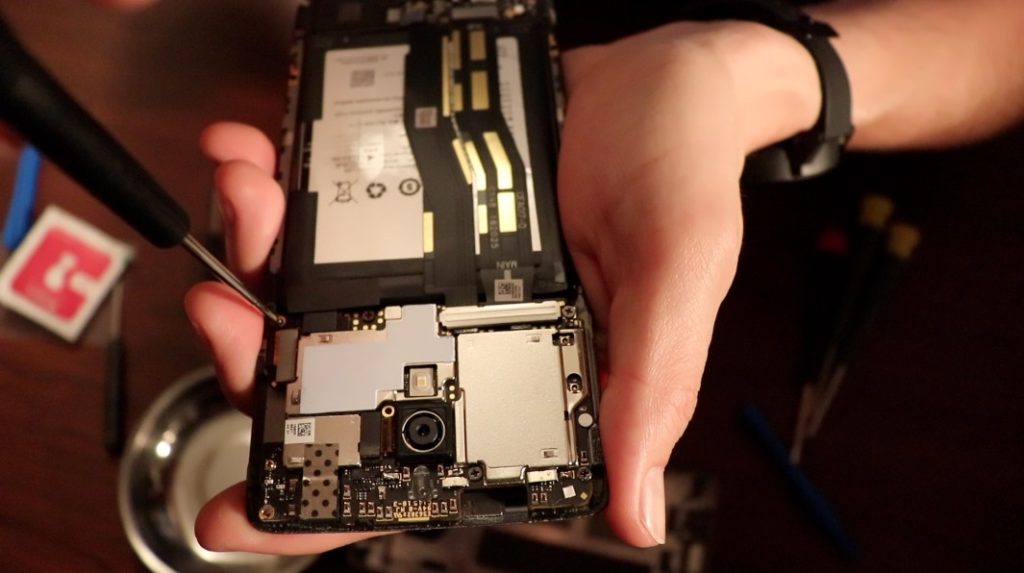
- Removed all of the screws from the motherboard and store them in your magnetic bowl.
- 5 black screws, 3 smaller silver screws.
- One screw on the left side of the board is covered with a white sticker.
- Remove the metal connector plate and store it in your magnetic bowl.
- Gently pull the motherboard away from the phone assembly.
- Disconnect the camera and replace it with the new camera.
- Reassemble the phone.
- Reconnect all the ribbon cables.
- Reinstall the metal connector plate.
- Screw in the 5 black screws and 3 smaller silver screws.
- Snap the screen assembly back into the metal house, starting at the top of the phone this time.
- Screw back in the 2 T2 torx screws.
- Turn it on and test out your new camera.
Hopefully this wasn’t too difficult and your camera is working again!